![]() Experience Sharing: The web server hosting this blog was built entirely on a Raspberry Pi®, where hosted three others since August 2018. The experiences of constructing the web server relied completely upon contribution from many sharing their knowledge. While most information could be "googled" from the internet, quite many search results were difficult or even frustrating for beginners to comprehend.
Experience Sharing: The web server hosting this blog was built entirely on a Raspberry Pi®, where hosted three others since August 2018. The experiences of constructing the web server relied completely upon contribution from many sharing their knowledge. While most information could be "googled" from the internet, quite many search results were difficult or even frustrating for beginners to comprehend.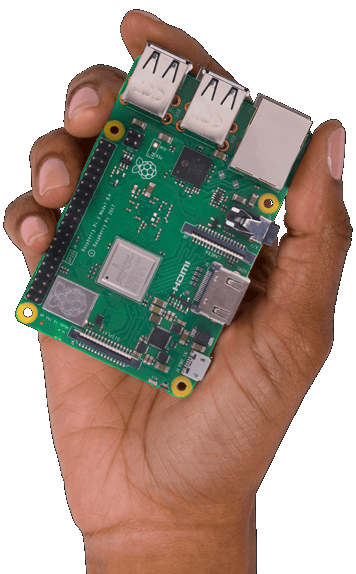
The purpose of this blog was therefore to document the painstaking processes in building such a server from scratch by a beginner with little knowledge of Linux®. The blog did not intend to address all potential issues of such web-server building process, but only to present a few topics for setting up the unit in a hope to help someone with similar background like the author.
To start a Raspbery Pi poject, first visit its official website. Follow the links and purchase a model of your preference with an optional casing. Although the following items are also required, often you might already have them from your smart phone accessories.
- a micro-usb power supply
- a MicroSD card (2G min)
- a micro-usb adaptor or converter
The usb power supply for a smart phone should be compatible as long as the power cord has a micro-usb connector head though officially it is recommended of a 2.5A capacity. In the meantime, visit the download page of the official site and follow the procedure below to install the OS. 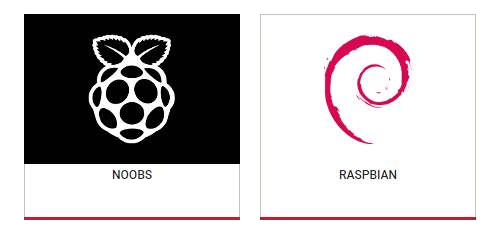
To start with operating system installation,
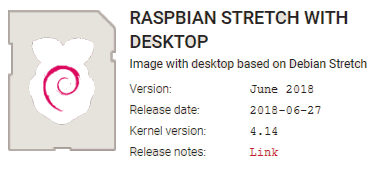
- download the Raspian Stretch* image
- download & install an image writer on your PC
- burn the Raspian image to the MicroSD card
The official website raspberrypi.org offers Raspian operating system (OS) images of a Lite and a Desktop versions to download. The images also come with a NOOBS auto-installer, or as a stand-alone Raspian image. The Lite version is sufficient for the discussion to follow. The desktop version has a nice graphical user interface great for desktop applications, but of course requires a greater storage capacity.
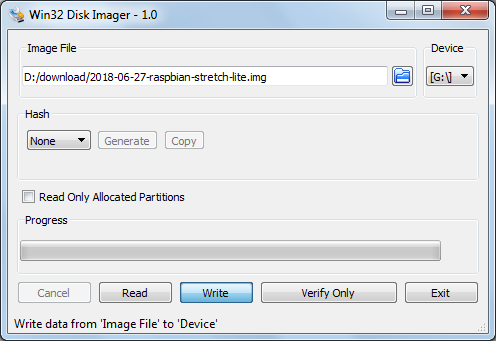
To burn the image to the MicroSD card, there are two image writers/burners available for your PC
- W32DiskImager for Windows
- Rufus for Windows
- Etcher for Windows, MacOS, & Linux
- Linux shell command -
dd
For illustration purpose, the W32DiskImager is used to burn the image. Once completed, power-on the Raspberry Pi and Raspian burnt on the MicroSD card will boot up the unit.