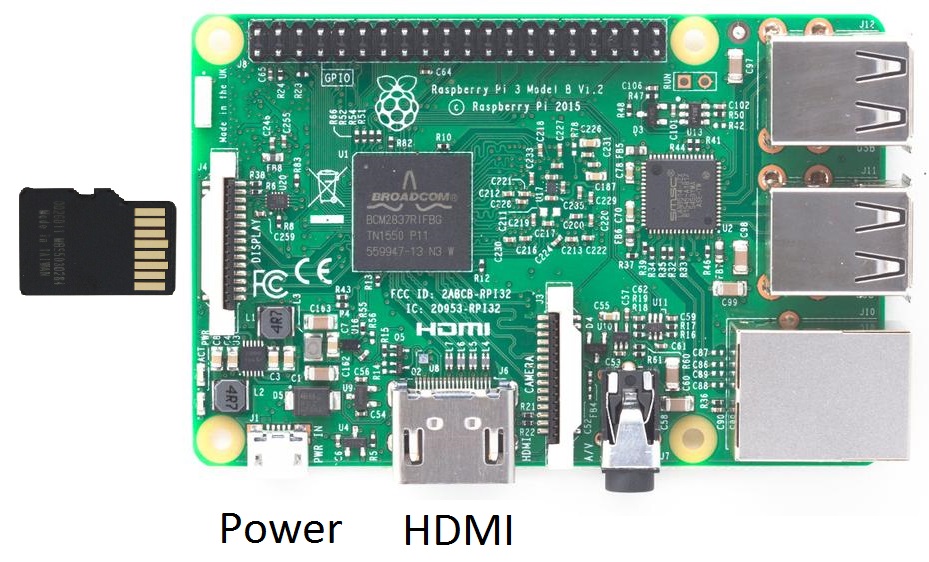
- insert the MicroSD card
- connect an USB keybord to the unit
- connect to an HDMI-ready monitor
- plug the power to the unit
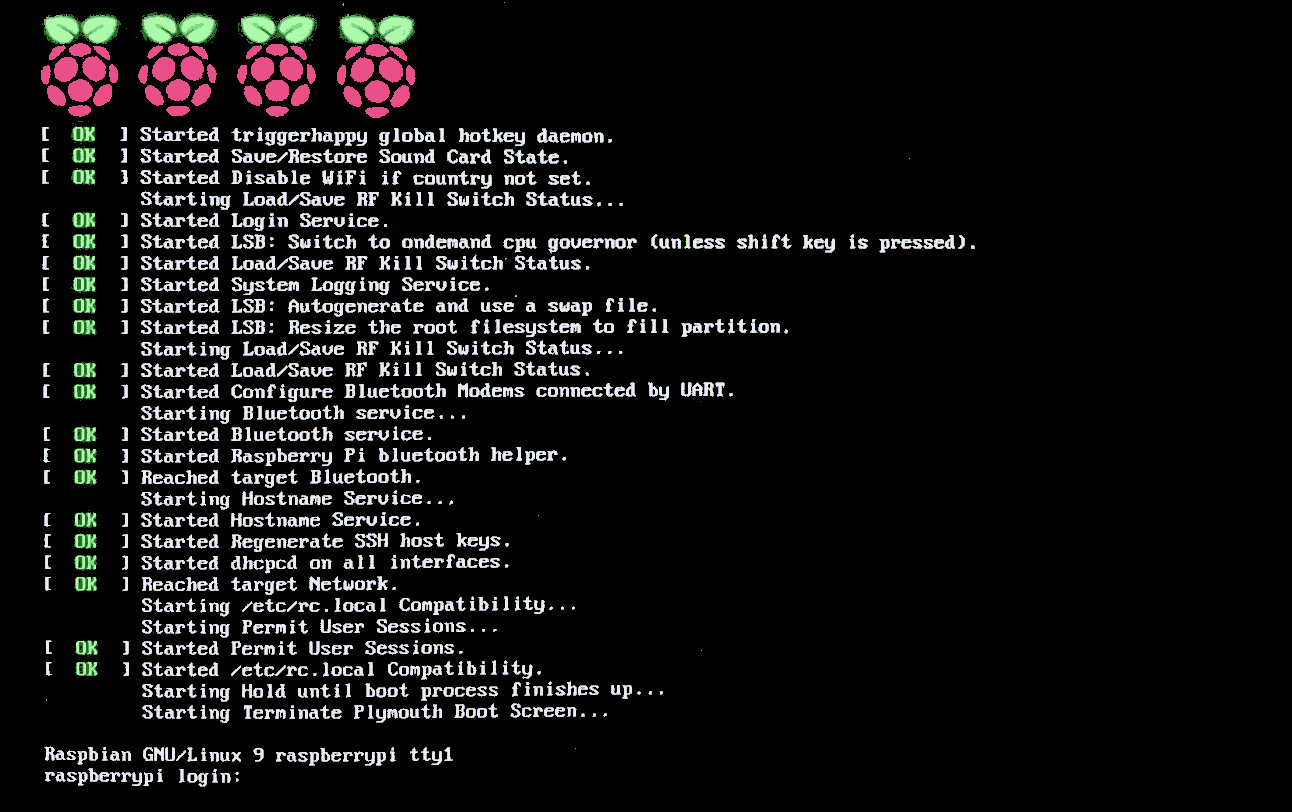
Plugging the power will immediately power on the unit, and a fresh Raspberry Pi with Raspian OS is running at your command. During the first power-up, the console screenshot asks for a login username and it's password. The default account username and password are pi and raspberrypi, please enter them at the console.
Once log-in, set a temporary IP address of the unit as follows:
Raspian GNU/Linux 9 raspberrypi tty1
raspberrypi login: pi
Password: raspberrypi
$ sudo -i
Password: raspberrypi
$ ifconfig eth0 192.168.1.80 netmask 255.255.255.0
To set the unit with a static IP address, refer to Static IP. Then enable the ssh service and plug a network cable to the unit.
$ systemctl enable ssh
$ reboot
You should be able to use
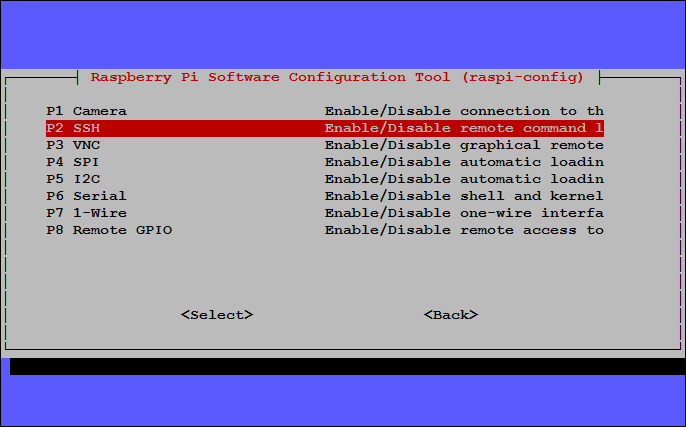
ssh for remote login from this point on. Alternatively, you can use the menu-guided raspi-config command to enable the SSH service.
$ raspi-config
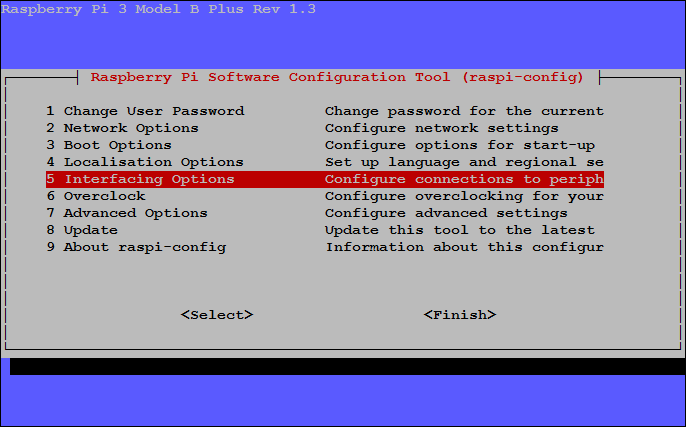
ssh. Eventually the monitor, the keyboard, and the mouse will no longer be needed. In other words, the minimum requirement for the Raspberry to run consists of only four items:
- the circuit board
- the MicroSD card
- the power supply
- a network cable
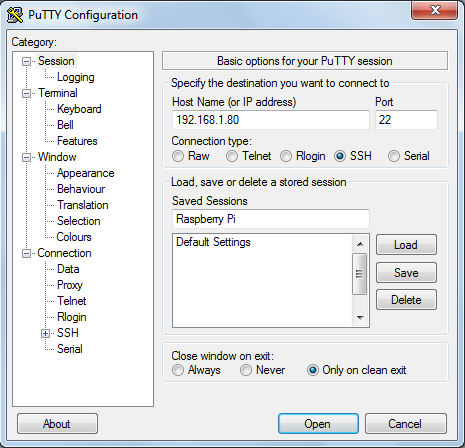
All remaining tasks can be done remotely. The unit does not need to connect to a keyboard nor a monitor. One of the most popular utilities and often used for remote login, putty can be downloaded from www.putty.org. As long as ssh-enabled, enter the target ip address as shown it allows a user to remotely access the Raspberry Pi.